Category: How To
-

Learn How to Label a Wine Bottle: Tips and Gadgets that Help
As it turns out, many of you used your time in quarantine to learn how to make wine or to improve your brewing skills. All that free time was a great motivator. Now you’re ready to label your wine bottles. Sounds easy enough, right? Labeling a batch of bottles by hand can be stickier (pun…
-
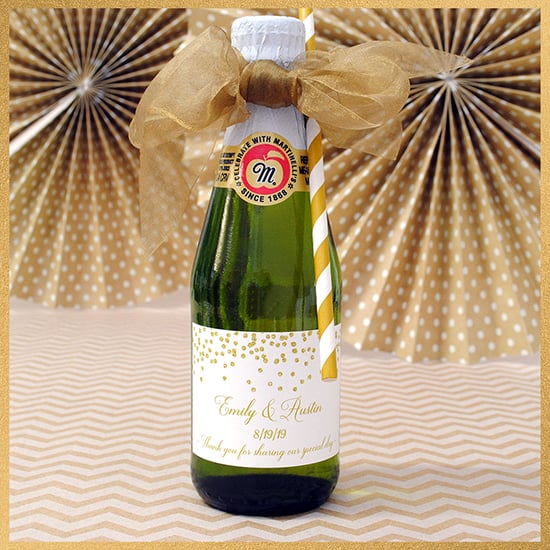
How to Label Mini Martinelli’s Sparkling Cider Bottles for Party Favors
One of the great things about party planning is making favors for everyone to enjoy. Mini bottles by Martinelli’s Sparkling Cider are a favorite of young and old alike because they offer the fizz and sparkle of Champagne without the alcohol. This post will show you step-by-step how to label mini sparkling cider bottles with…
-

Tea with the Bride to Be Chalkboard Sign
Hi Ladies. Let’s have tea with the bride-to-be! I made this sign for a bridal shower tea for my niece. As a first time sign maker I was a bit intimidated, but really loved how it turned out. I made some mistakes that I’ll help you avoid, and I’ll share tips so you can create…
-
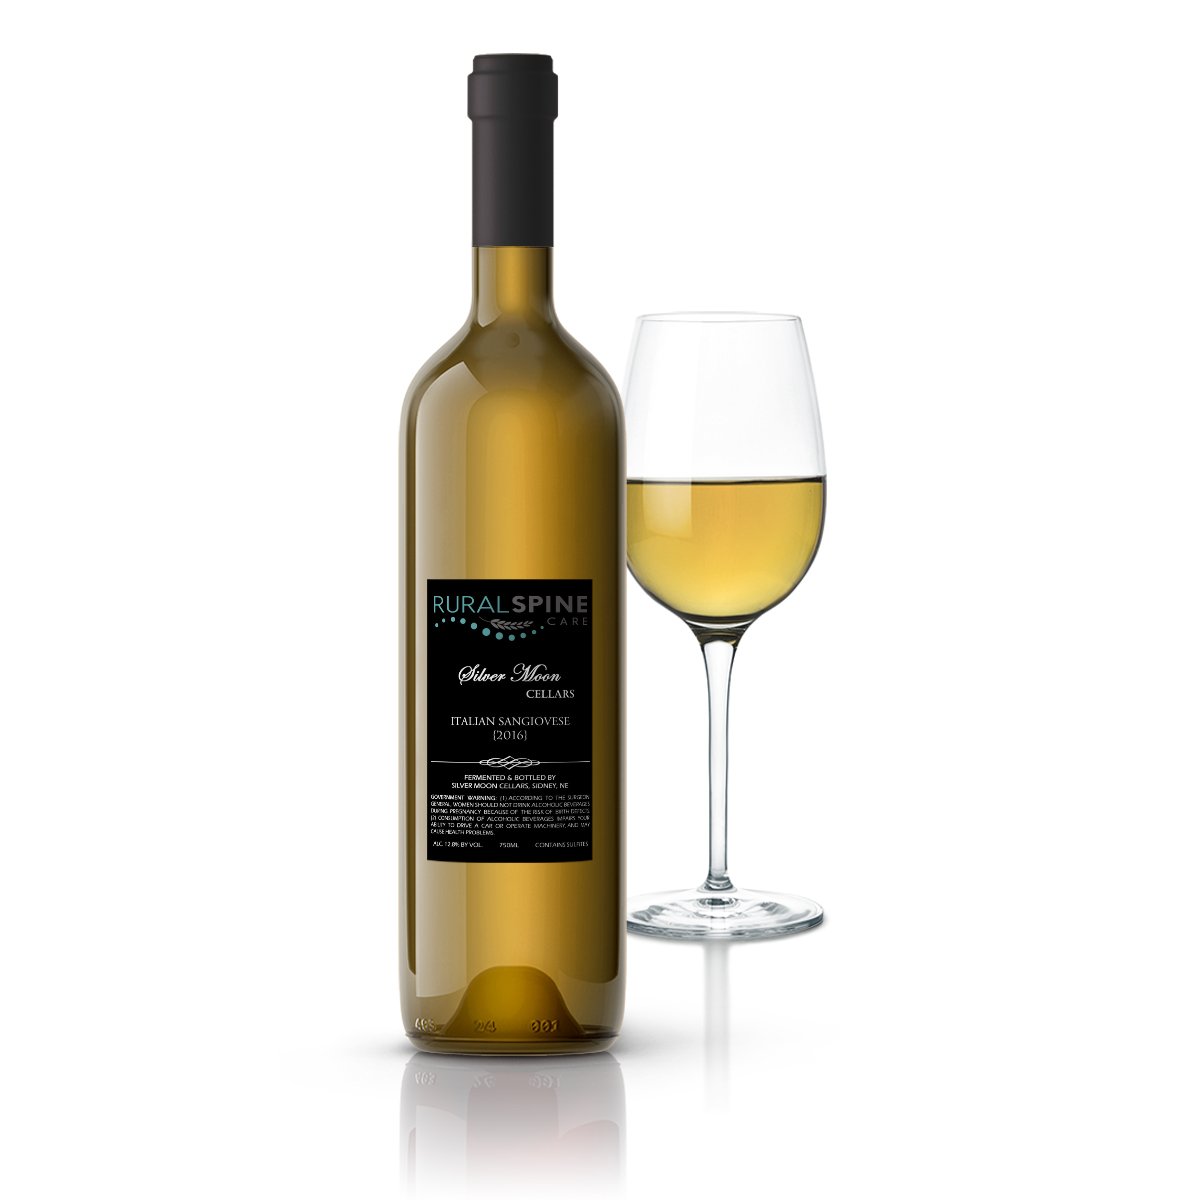
How to Make a Label for the Back of a Wine Bottle
Most wine label orders we see are for labels for the front of a wine bottle. Front wine labels are perfect for gifts and one time gatherings like weddings, corporate events, or parties, but if you’re a serious home winemaker or are a wine start-up you may need a label for the back of your…
-
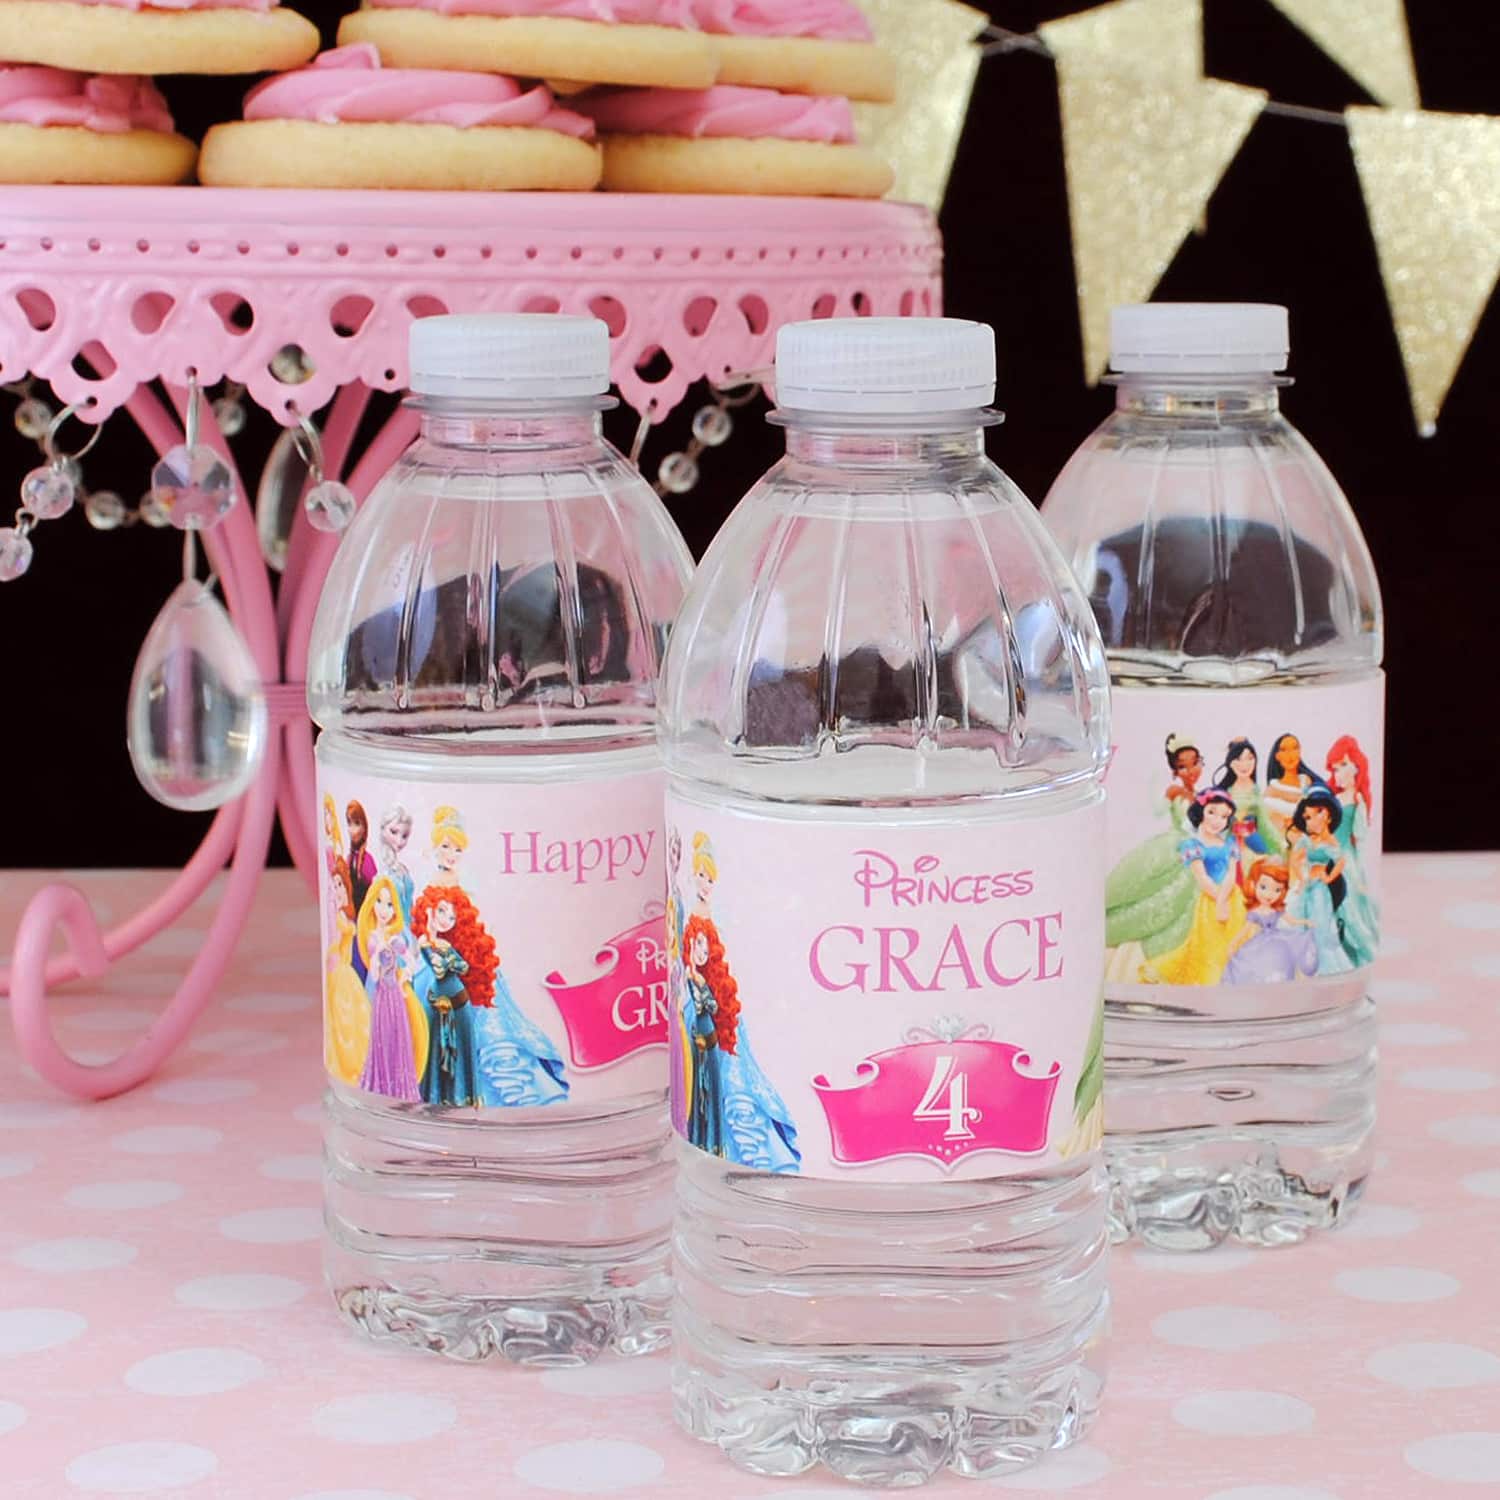
How to Make Personalized Movie Character Themed Party Favor Stickers
Cartoon or animated movie characters are often the first choice for a child’s birthday party theme. How many little girls do you know who love Disney princesses or little boys that love Marvel super heroes or PJ Masks? Naturally they are your little one’s choice for their birthday party. We print custom party favors every…
-
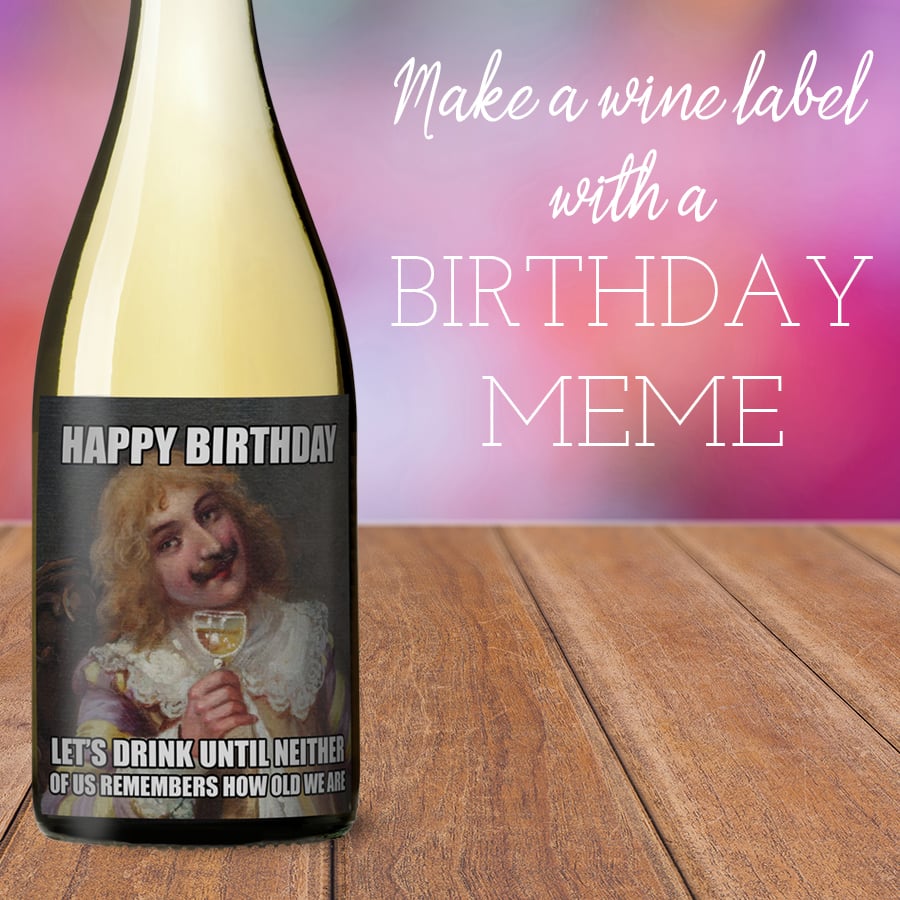
How to Make a Meme Wine Label
What is a Meme? Unless you’ve been unplugged from the internet you know that a meme is a photo with a witty phrase in bold text about people or events in popular culture. Memes became a cultural force with the rise of social media. A meme can also be an animated GIF. Memes cover a…