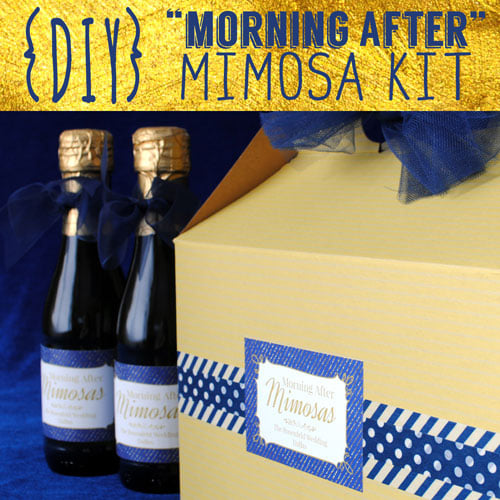
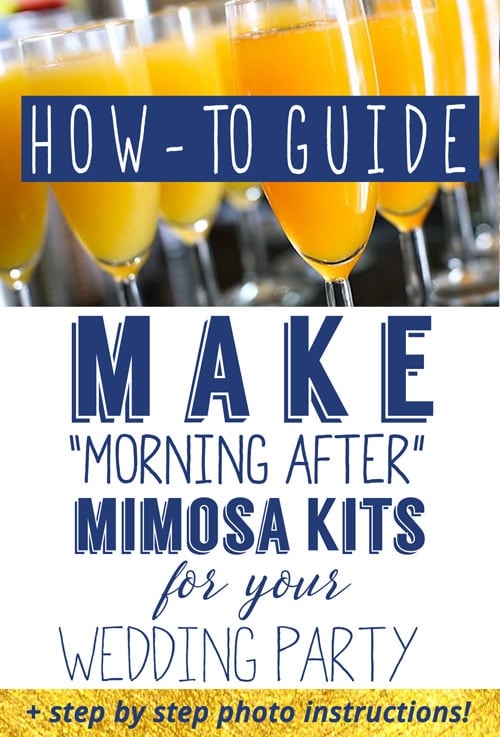
You’re getting married soon and you’re wondering how to wow your wedding party the day after the ceremony. You know, just a little something to say, “Thank You.” I recommend these simple to assemble “Morning After” Mimosa Kits. A perfect gift for that little pick me up the morning after the celebration. Included in this post are photos and a step-by-step guide to creating these inexpensive, yet gorgeous kits. Gift these to everyone who helped you on your special day. They’ll remember this gesture and trust me, they’ll want to steal “your” idea. Here’s what you’ll need.
STEP 1: Assemble Supplies
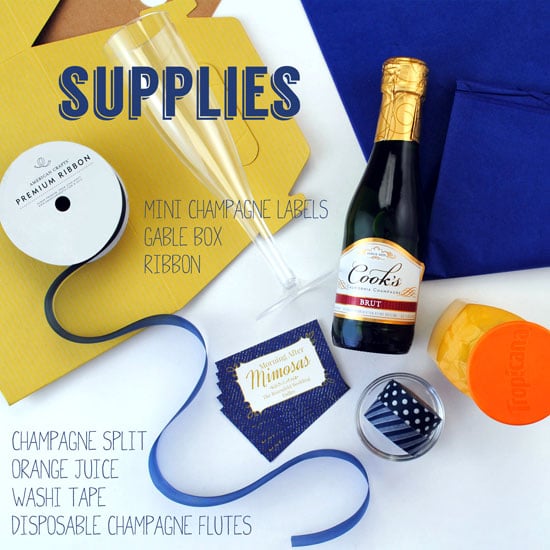
- Champagne splits (187ML)
- Mini Champagne labels
- Gable Boxes 8″ x 5″ x 5″
- Ribbon of your choice – I used one inch wide American Crafts Premium Ribbon
- Orange juice 12 fl. oz. bottle
- Washi tape
- Wrapping tissue
- Disposable Champagne flutes
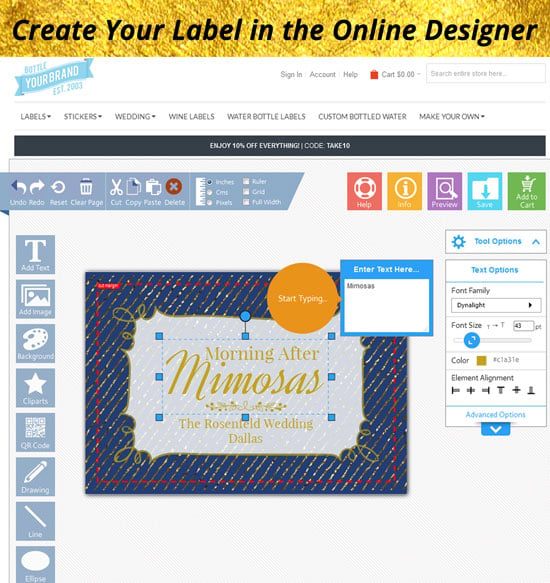
STEP 2: Design and Order the Mini-Champagne Label
Check your Champagne bottle to figure out the size label that will work. There are two mini champagne label sizes we recommend to fit almost any bottle. These two sizes are a 3″ wide by 2″ high rectangle or a 2 inch circle. To be certain of the size, download our Mini Champagne Label Bottle Guide (also found at the end of the post) to see which label fits popular brands. For this kit we used Cook’s Brut Champagne Split and the custom label is the rectangle shape 3″ wide x 2″ high. To change up one of our templates start here. To create your own from scratch go to this page.
Step 3: Label and Embellish
With labels in hand and shopping for all of the supplies done, it’s time to get started. Either soak off the existing labels on the mini bottles or apply the new labels directly over the old ones depending on which works best. Make sure the bottle surface is clean, dry and at room temperature. Cut a length of ribbon about 18″ long and tie a bow on the neck of each bottle. Trim the ribbon ends with scissors.
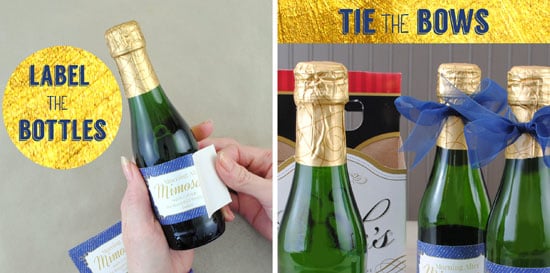
Using Washi tape of your choice, wrap the stem and the top of the flute below the lipstick line.

Step 4: Assemble the Mimosa Kit
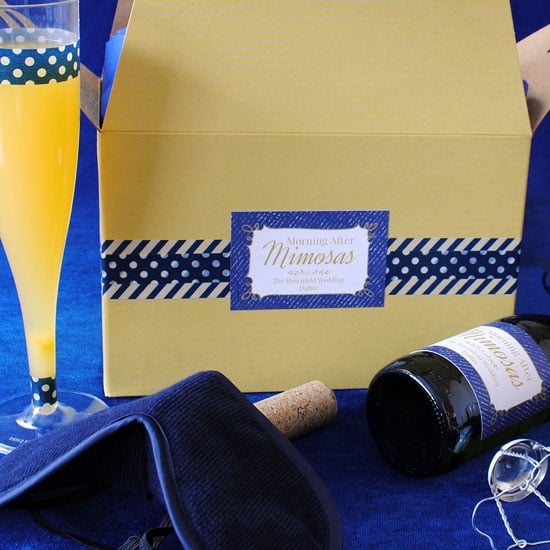
First, line the gable box with multi layers of wrapping tissue; certainly enough to prevent the bottle from breaking. Fill starting with the the heaviest items first. Start with the orange juice, then the Champagne split and last, the Champagne flute(s).

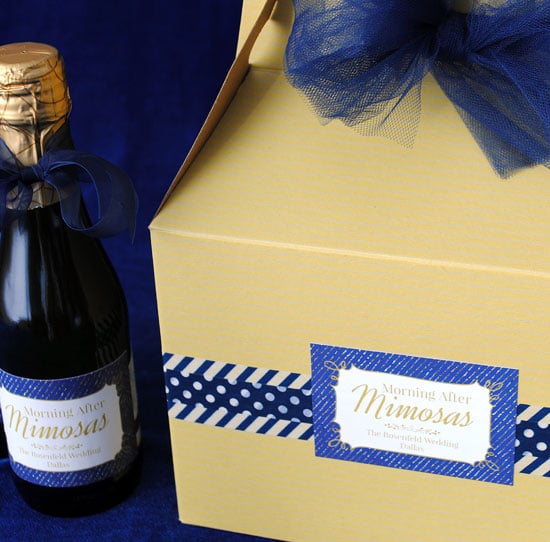
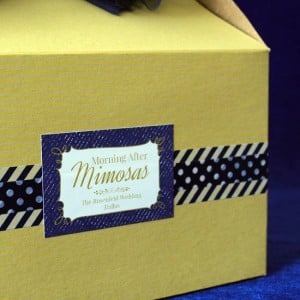
Step 5: Decorate the Gable Box
Using the Washi tape add several horizontal stripes around the box. Use two complementing ribbon patterns to give it a little pop; it’s easy to do. The decorative tape takes the box from plain to pretty with very little effort. Finish by placing the label over the decorative tape in the center of the box. Tie a bow to the handle with the ribbon you used for the mini bottles or for a bigger impact use some Tulle. The “Morning After” Mimosa Kit is complete! Pass out these kits the night of your rehearsal dinner with a note to save for the “morning after.” For out-of-town wedding party guests make sure the bellman places one in each hotel room. If you want to go a step further include a bottle of water with your wedding design on it.


Ready to get started? Find the Champagne split you plan on using and download with this handy printable guide.

Let us know how your kit turned out by sharing your photos with us. Email us at [email protected] and we’ll post the results on our social media.
Leave a Reply