The team at Bottle Your Brand has been thinking of you and we have come up with a really fresh and easy idea for packaging your holiday food gifts. We’ve been getting a head start on our holiday planning and we wanted to share one of our projects. This is just in time for preparing your holiday gift giving and is so easy anyone can do it. You don’t have to be crafty to pull this one off. It takes about fifteen minutes or less to make a pretty package for homemade cookies or candy.
Snowflake Gift Bag
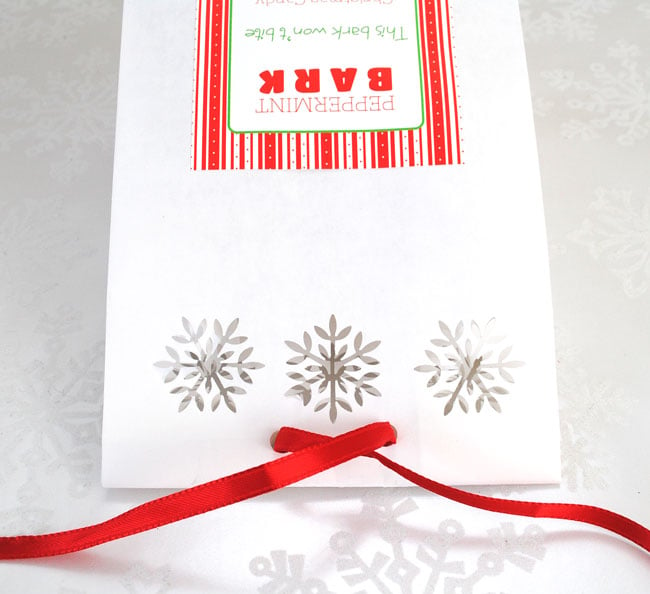
This Snowflake Cut-Out Bag is made with our Food Label Ginham Food Label, but you can customize any label from our Food Labels or Gift Tag Stickers to adapt to this package. Many of our gift tag sticker templates are new for the 2013 holiday season and besides looking amazing, we think they make personalizing a gift quick and easy.

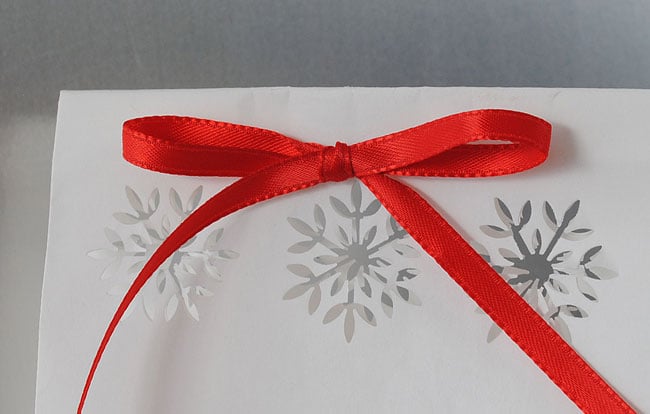
See how fantastic the snowflakes look in this close-up shot. The resulting snowflake punch outs are just the thing for embellishing a gift card or greeting card.
One of the tools you’ll need is a snowflake paper punch. It’s an exciting tool that allows you to make the perfect snowflake cut-out every time. We found it for under $8 at a local craft store and it’s also available online. It’s so versatile you’ll find it useful for other craft projects. The cut-outs it creates are delicate and elegant, the perfect touch to make your packaging look like you know a thing or two.
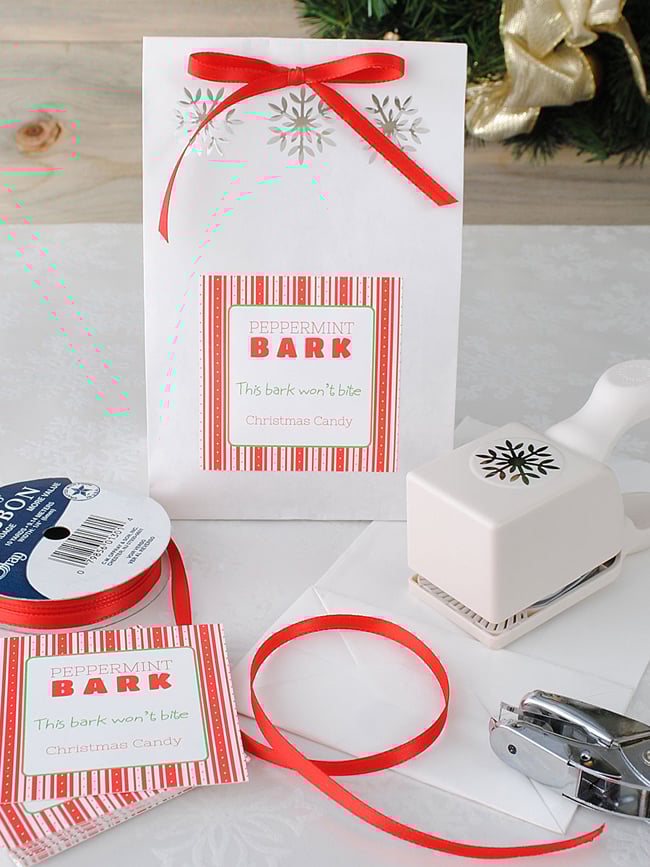
Other materials you will need:
- White or craft paper bag
- One-hole punch
- 1/4 inch ribbon
- Customized label from Bottle Your Brand
- Ruler
- Pencil
With the paper bag lying flat, fold over at the top to create a flap.
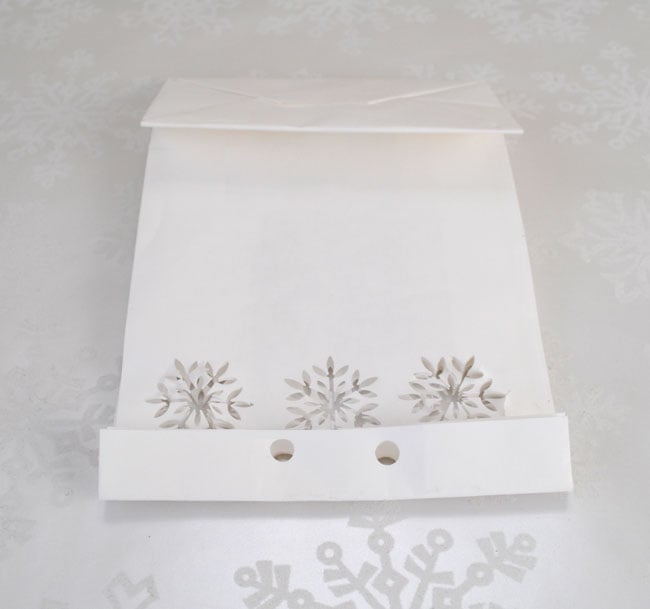
Measure the center of the bag and make a small pencil mark about 1/2 inch below the fold. Measure one inch on either side of the center and mark with the pencil. With the one-hole punch make a hole on the left and right pencil mark (not the center). This is where you will tie the ribbon.
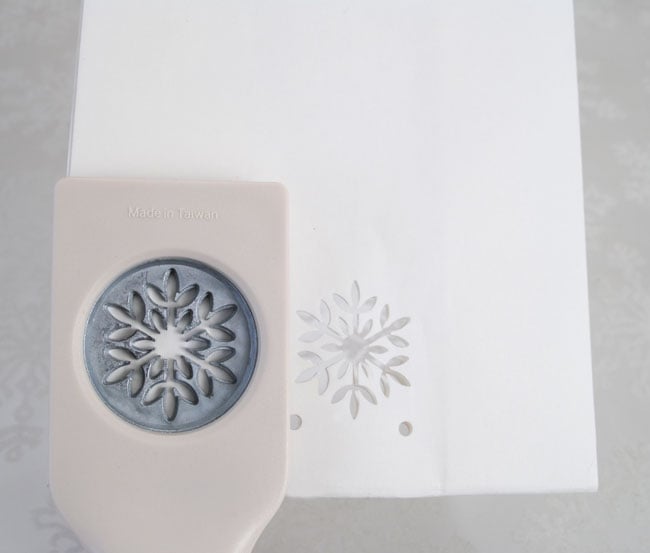
Next, take the snowflake punch and line up with the center mark you made earlier. Punch a snowflake below the ribbon holes as far in on the bag as the snowflake punch will allow.
Now measure from the center snowflake an equal distance on either side and mark with a pencil. This measurement is up to you and will depend on the size bag you are using, but it looks best when the snowflakes are equal distance from each other. Punch a snowflake on both marks. You will now have three snowflakes punched all the way through both sides of the bag.
Turn your bag over. Place your custom food label on the bag in the spot that looks best to you.

Fill the bag with your goodies. The last step is to tie the ribbon through the holes and make a shoelace bow.
Our favorite cookies to fill the bag…
Grandma’s Easy Sugar Cookies
Ingredients:
- 2 3/4 cups all purpose flour
- 1 tsp. baking soda
- 1/2 tsp. baking powder
- 1 cup butter softened
- 1 1/2 cups white sugar
- 1 egg
- 1 tsp. vanilla extract
Directions:
Preheat oven to 375 degrees F. In a small bowl, stir together flour, baking soda, and baking powder. Set aside.
In a large bowl, cream together the butter and sugar until smooth. Beat in egg and vanilla. Gradually blend in the dry ingredients. Roll rounded teaspoonfuls of dough into balls and place onto ungreased cookie sheets.
Bake 8 to 10 minutes in the preheated oven or until golden brown. We like them on the doughy side so 8 minutes is our fave. Let stand on cookie sheets to cool for two minutes, then move to wire racks.
Decorate with frosting.
Let us know if you have any questions or if you have a favorite food label you’ve made we’d love to see photos.
Leave a Reply